In order to connect the two platforms the admin has to enable the Facebook settings, from Platform Customization page:

This is how the Facebook settings section looks like, where the admin can edit the Facebook application:

1. Insert here the application ID, provided when creating an App on your Facebook account.
2. Check the Yes radio button to enable Facebook log in.
3. Check the radio button to display only the Facebook comments – displays only the comments posted to your Facebook account.
4. Check the radio button to display Streaming platform comments – displays only the comments from the platform.
5. Check the radio button to display Both type of comments – displays the comments posted to your Facebook account and the comments from the platform.
6. Click here to save the settings.
Add an app on Facebook account
Important: in order to manage apps on Facebook account, the website administrator needs to have a developer account.
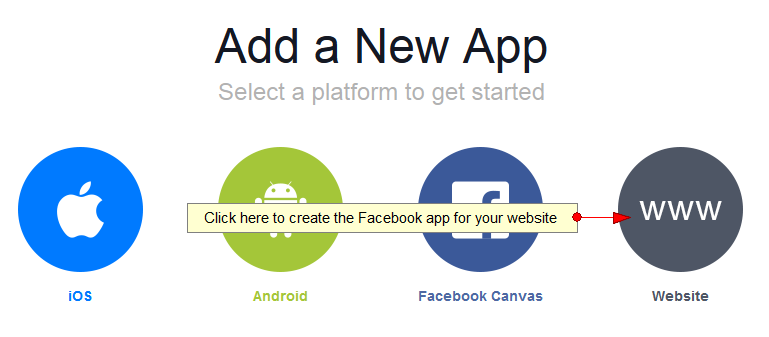
Logged into your Facebook developer account, click on Apps tab to open the drop-down menu:

An overlay window will be displayed and you need to select the web type:
You need to insert the application name in order to get the ID:

1. Insert the application name in this field.
2. Click here to create the Facebook app.
You will have to select a category for the application:
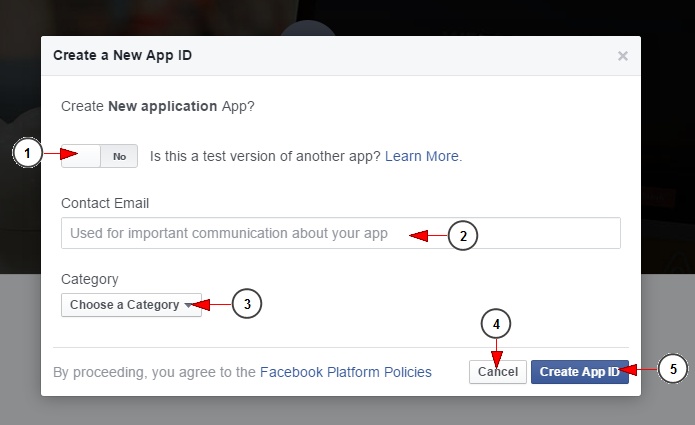
1. Drag the button in order to select if this is a test application for another app.
2. Enter here the email address where you want to receive details about the application.
3. Select from the drop-down menu the category for the app.
4. Click here to Cancel creating the app.
5. Click here to create the App ID.
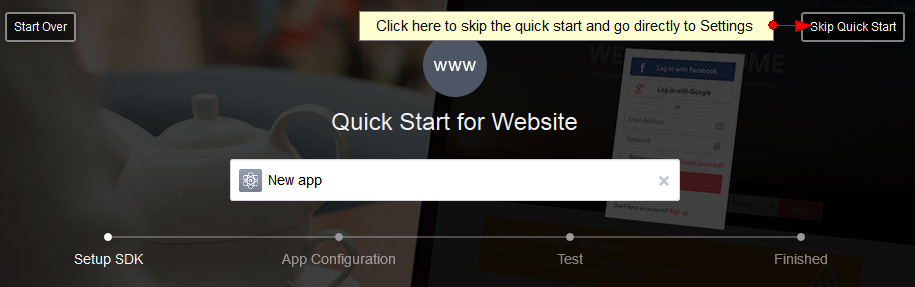
In order to get to the Application settings, you can skip the rest of the steps:
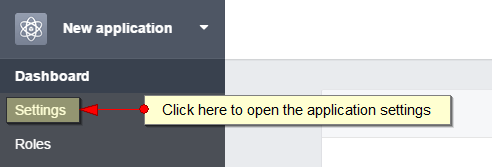
Once the app is created you can edit the basic, mandatory settings; from the Application Settings page you will need to click on the Settings link in order to configure the rest of the settings of the application:
On the Settings page you need to edit the basic, mandatory settings:

1. Here you can see the application ID, which needs to be inserted in Platform Customization page.
2. Click here to view the Application secret ID.
3. Here you can see and edit the name of the app that is displayed.
4. Insert here your app domain.
Note: The app domain should not contain any www. or https in the URL. It should be like domain.com.
5. Click here to add the platform. An overlay window will be displayed and you need to select the iOS or Android icon in order to adjust the settings of your mobile apps (see steps 6 to 8 from the image below where we selected iOS)
6. Click here to discard all changes from the settings.
7. Click here to save the settings.
Important: The rest of the fields are not mandatory to be completed in order to have the application working.
You should add a Website platform, by clicking on “+ Add Platform” and selecting the Website icon:

1. Click here to add a Website platform
After that you can enter the website details:

1. Enter here the URL of your website
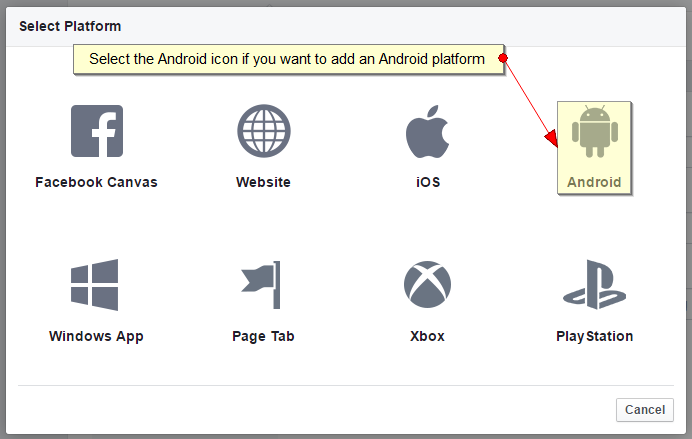
You should add an Android platform, by clicking on “+ Add Platform” and selecting the Android icon:
After that you can enter the Android application details:

1. Enter here the Google Play Package Name – this will be provided by our development team
2. Enter here the Class Name – this will be provided by our development team.
3. Enter here the Key Hashes – this will be provided by our development team.
4. Click here to save the settings.
You should add an iOS platform, by clicking on “+ Add Platform” and selecting the iOS icon:

After that you can enter the iOS application details:

1. Enter here the bundle ID – this will be provided by our development team
2. Click here to save the settings.
Then you will need to add the Application ID on the Facebook settings section in admin area of your platform:
