How to install and use WinSCP FTP client
WinSCP is an open source free SFTP client and FTP client for Windows. Its main function is safe copying of files between a local and a remote computer.
You will need to download the installer version of WinSCP which is the safe and easy to use:
Note: if you want to upload/download a Zip file from the FTP, make sure that your unarchiver tool does support ZIP files. Otherwise the archive cannot be opened/explored/unarchived.
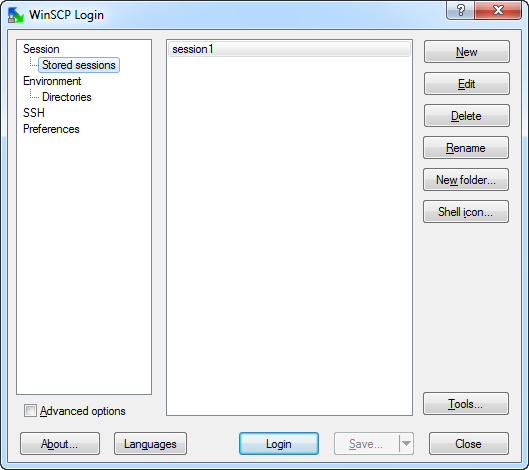
WinSCP starts with a login screen that is also a session manager. You can add new sessions, load saved ones, delete them and set the default connection.
Installation
Open the installation program by double clicking on its icon.
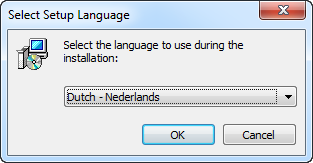
Select the language you want to use (both for installation and later when using WinSCP).
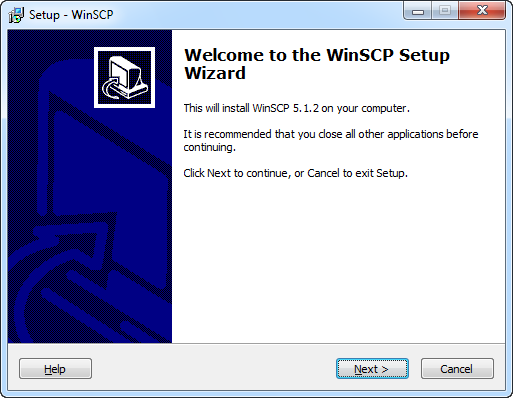
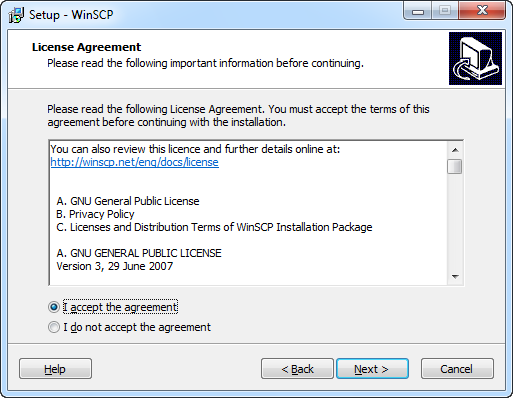
On Welcome and License Agreement screens click Next after reviewing them.
On Welcome screen click Next to go to next installation step – license agreement.
You will have to accept the terms of the license agreement to continue. Read through it and click “Next” if you do.
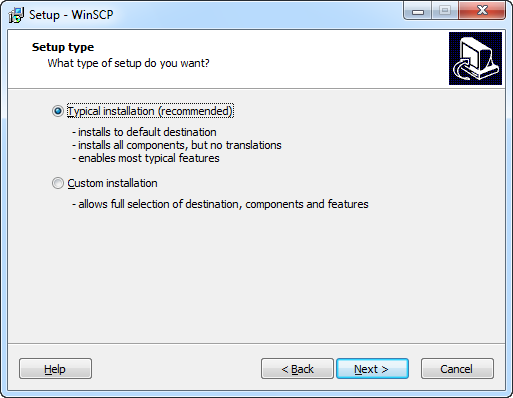
You will be prompted to select a setup type. For basic setup, choose Typical installation.
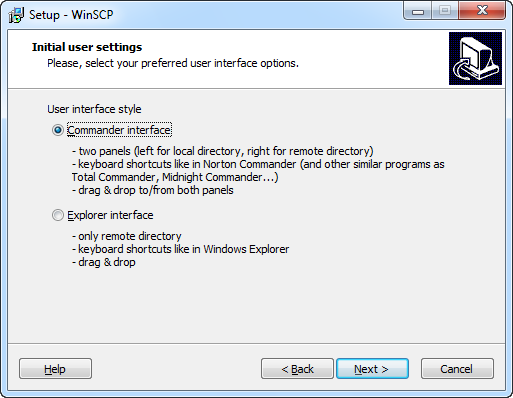
Then you will be prompted for Initial User Settings. This mainly allows you to select user interface style. If you have used (and enjoyed) file managers like Total Commander, Servant Salamander or Norton Commander before, keep default Commander interface. Otherwise you will probably be more familiar with Explorer interface.
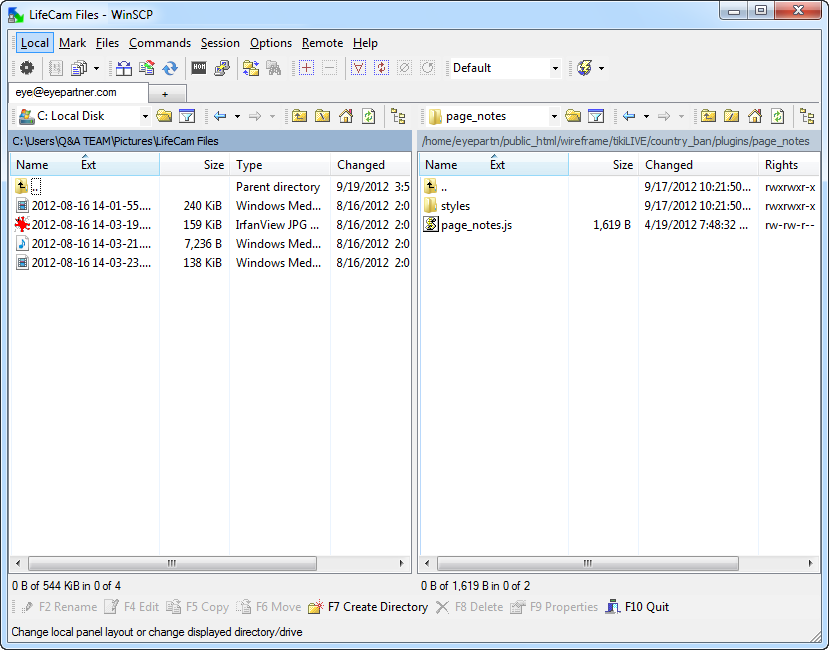
We will use and recommend the Norton Commander interface since it is easy to compare the files from your computer and the ones from the server.
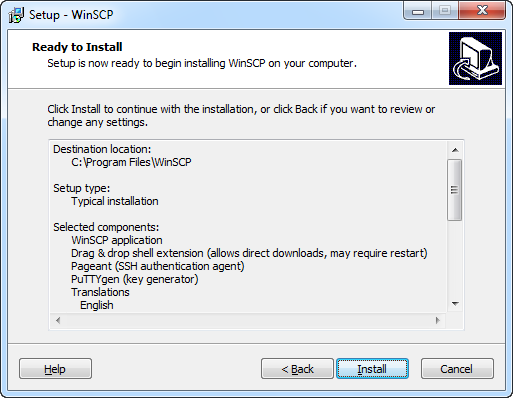
After you select the interface, the Ready to Install screen opens. On this screen, you can review the installation options you’ve selected. Click Install to start the installation.
A brief installation process will take place. You may have to restart your computer. If you choose not to restart, some WinSCP functions may not be available until you do so.
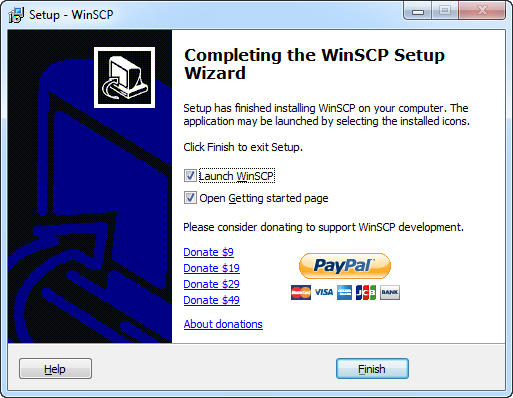
Congratulations, you’ve now successfully installed the WinSCP application. Check the “Launch WinSCP” box to start the program after pressing the “Finish” button.
Configuring Session (Login Dialog)
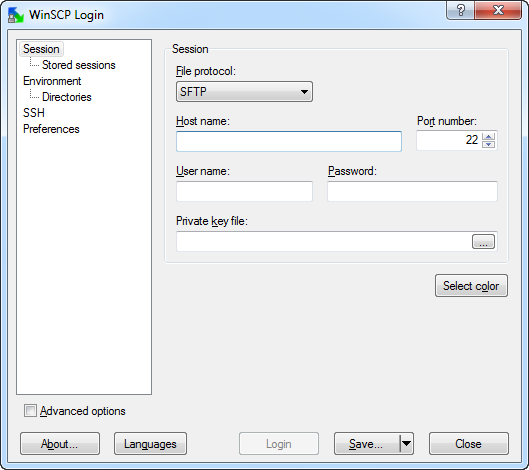
To configure your session, start WinSCP, and then use the WinSCP Login dialog box that opens. It can be invoked also later to open additional sessions. The WinSCP Login dialog box’s options are categorised to tabs, which are documented separately. The program hides advanced options (even complete tabs) unless you select the Advanced options checkbox below the navigation tree.
If there are no stored sessions, WinSCP displays the Session tab. After you store one or more sessions on the Stored sessions tab, the Stored sessions tab will be the WinSCP Login dialog box’s default view.
After you configure the session, you can open it by clicking Login or save it by clicking Save.
Tabs available on Login dialog:
- Session (basic session options)
- Stored sessions (to manage stored sessions)
- Logging (to enable session logging)
- Environment (server compatibility options, filename encoding, DST, etc)
- Directories (initial directories, directory cache)
- Recycle Bin
- SFTP (SFTP protocol specific/compatibility options)
- SCP/Shell (shell and SCP protocol specific/compatibility options)
- FTP (FTP protocol specific options)
- Connection (timeouts, keepalives)
- Proxy (connection thru proxy server)
- Tunnel (connection thru SSH tunnel)
- SSH (SSH protocol options and authentication)
- Key exchange (key exchange and reexchange options)
- Authentication (advanced authentication options)
- Bugs (detections of known bugs in SSH servers)
- Preferences (interface/behaviour configuration)
Connecting
Start WinSCP. Login Dialog will appear. On the dialog:
- Select Session tab (it will be selected already if you are using WinSCP for the first time).
- Enter your host name to Host name field, username to User name and password to Password
- Select you File protocol. When you are about to use FTPS protocol, select FTP and then choose one of the FTPS invocation methods.
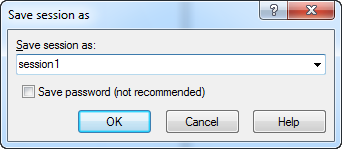
- You may want to save your session details to stored session so you do not need to type them in every time you want to connect. Press Save button and type stored session name.
- Press Login to connect.
Uploading files
Once you are connected to your account of FTP server, you will see content of default remote directory (typically a home directory of your account) on remote file panel.
If you want to upload the files to different directory, navigate there first.
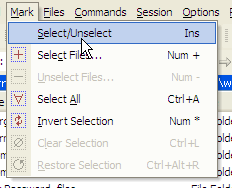
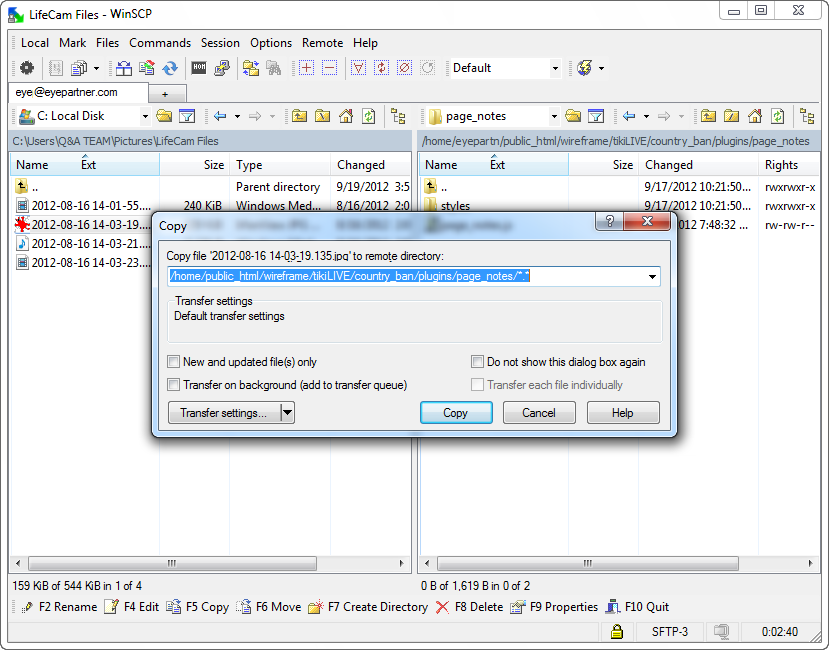
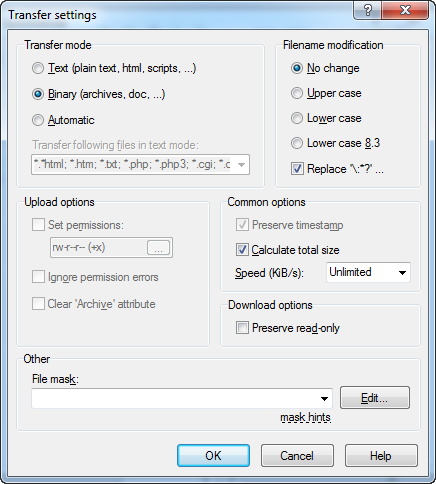
Now you can simply drag the local files and drop them on remote file panel. By default transfer settings dialog will appear. Typically if you don’t want to drag and drop the files, you can click on the files or directory that you want to copy into the server and after that go to Mark -> “Select/Unselect”.
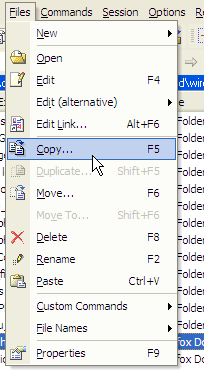
After that go to Files -> “Copy” in order to copy the selected files into the server.
The copy file windows will appear and you will have to click on “Copy” button to start the transfer process.
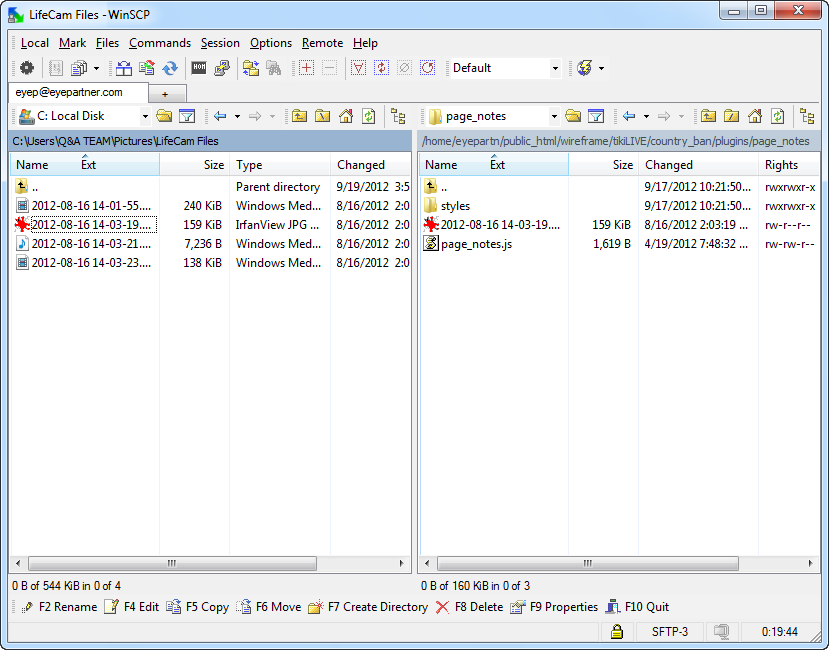
Uploading will proceed. Once it finishes, you will see uploaded file in remote file panel.
Deleting files
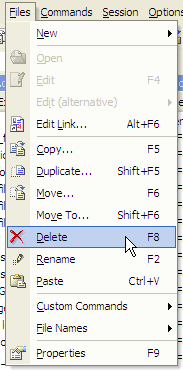
To delete files, select them in the file panel and then go to File(s) > Delete.
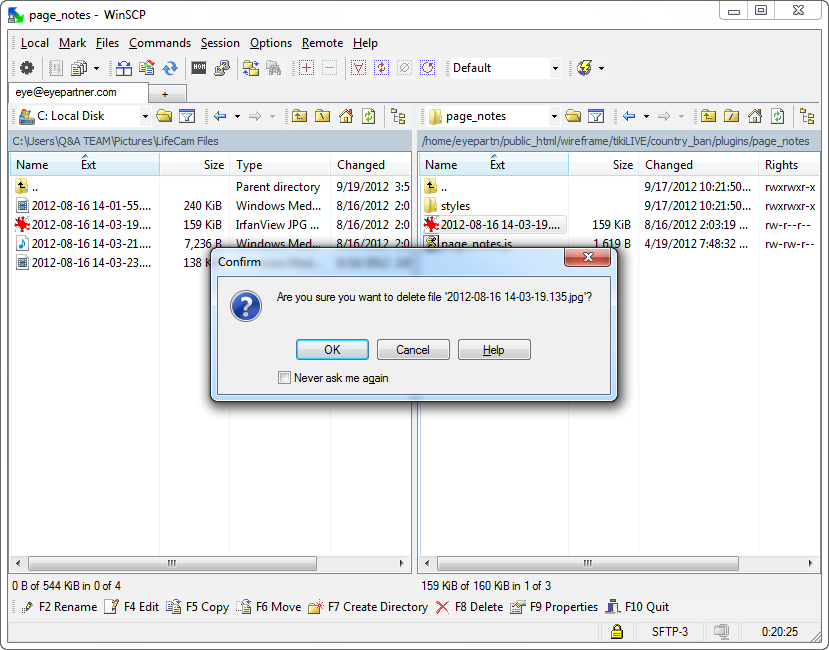
A confirmation message will appear. After your confirmation the deletion will start.
Note that with FTP protocol, WinSCP needs to delete each file individually, including files in sub-directories. For this reason the operation can take quite some time.
Synchronize files
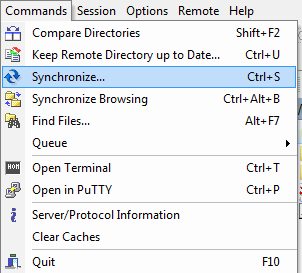
To synchronize go to Commands > Synchronize.
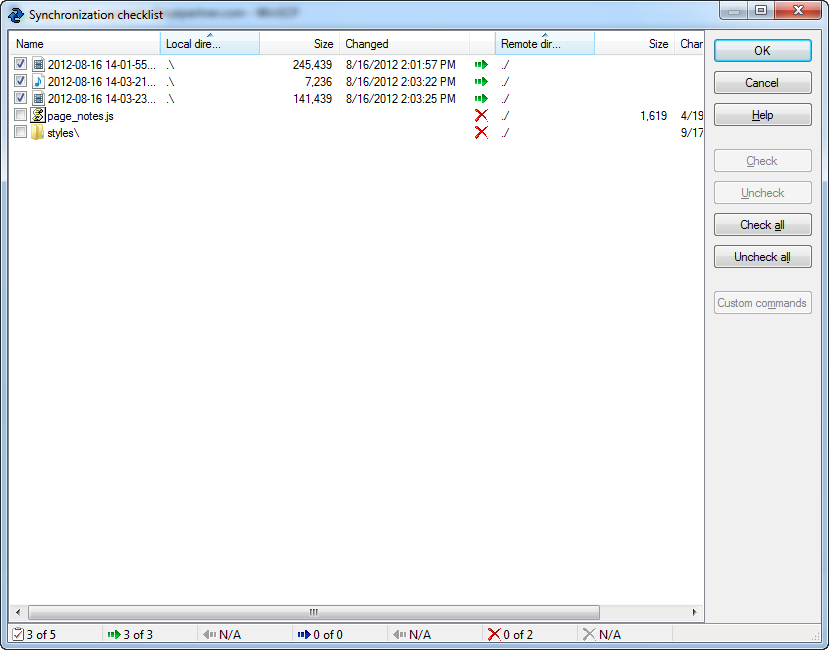
WinSCP will collect list of differences in between the directories. Then you will be presented with the synchronization checklist where you can review synchronization actions.
Press OK to apply them.
Save session
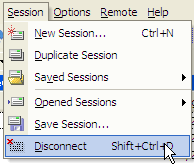
If you have opened ad hoc session, but then you decide that you want it in stored session list, you can use command Session > Save Session.

