In this manual page we will explain how you can publish your LG application.
[1] Access your LG Developer account https://seller.lgappstv.com/seller/main/Main.lge and login on your account:

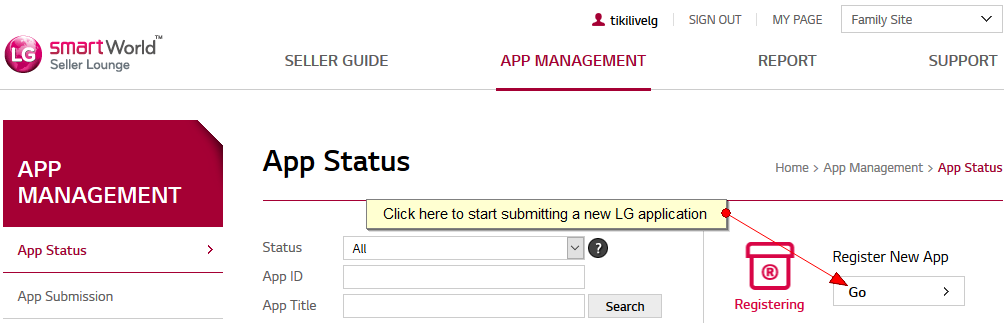
[2] From the main screen you have to click on Register New App link, as explained on the following image:
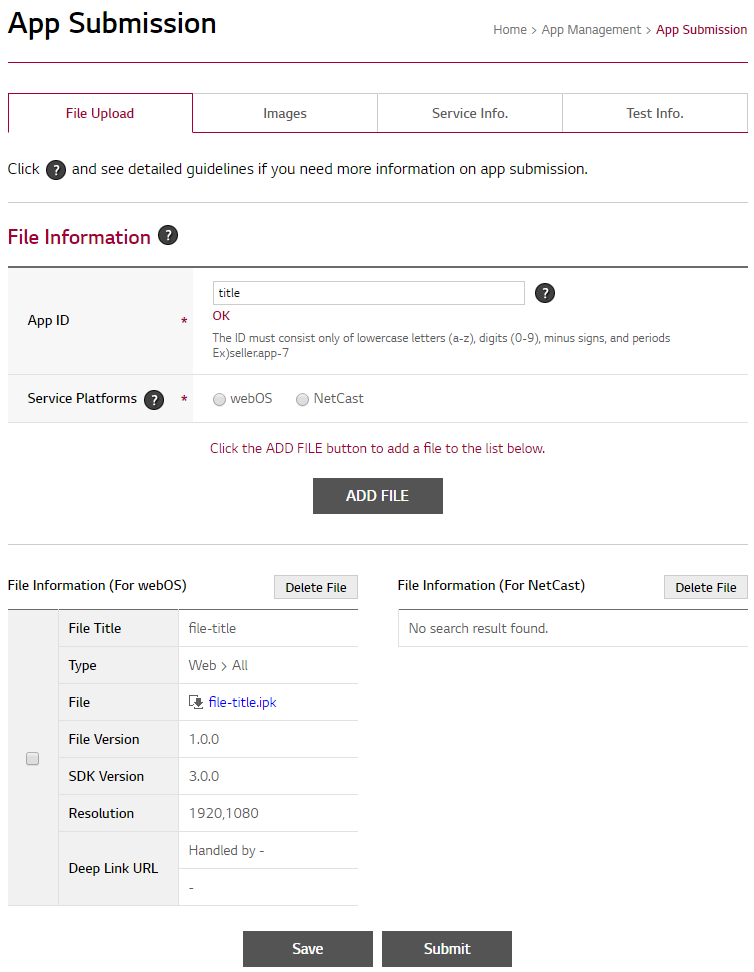
[3] You will have to fill in the information for the application file, as explained on the following image:

- Enter here the ID of the application
- Check this box to select the webOS as the service platform
- Click here to upload the application file
- Click here to save the details entered
[4] After the file was uploaded you will be able to view the file information:
[5] On the next step you will have to upload the images that are requested when an application is submitted, as explained on the following image:

- Click here and select to upload the application icon
- From this color picker select the application tile color – the tile color and need to be the same as the icon background color
- Click here to upload the application primary screenshot
- Click here to upload the application secondary screenshot
- Click here to upload the launcher background image for the application
- Click here to upload the splash screen background image for the application
- Click here to save the images and go to next step
[6] On the next step you will have to fill the Service Info that are requested when an application is submitted, as explained on the following image:
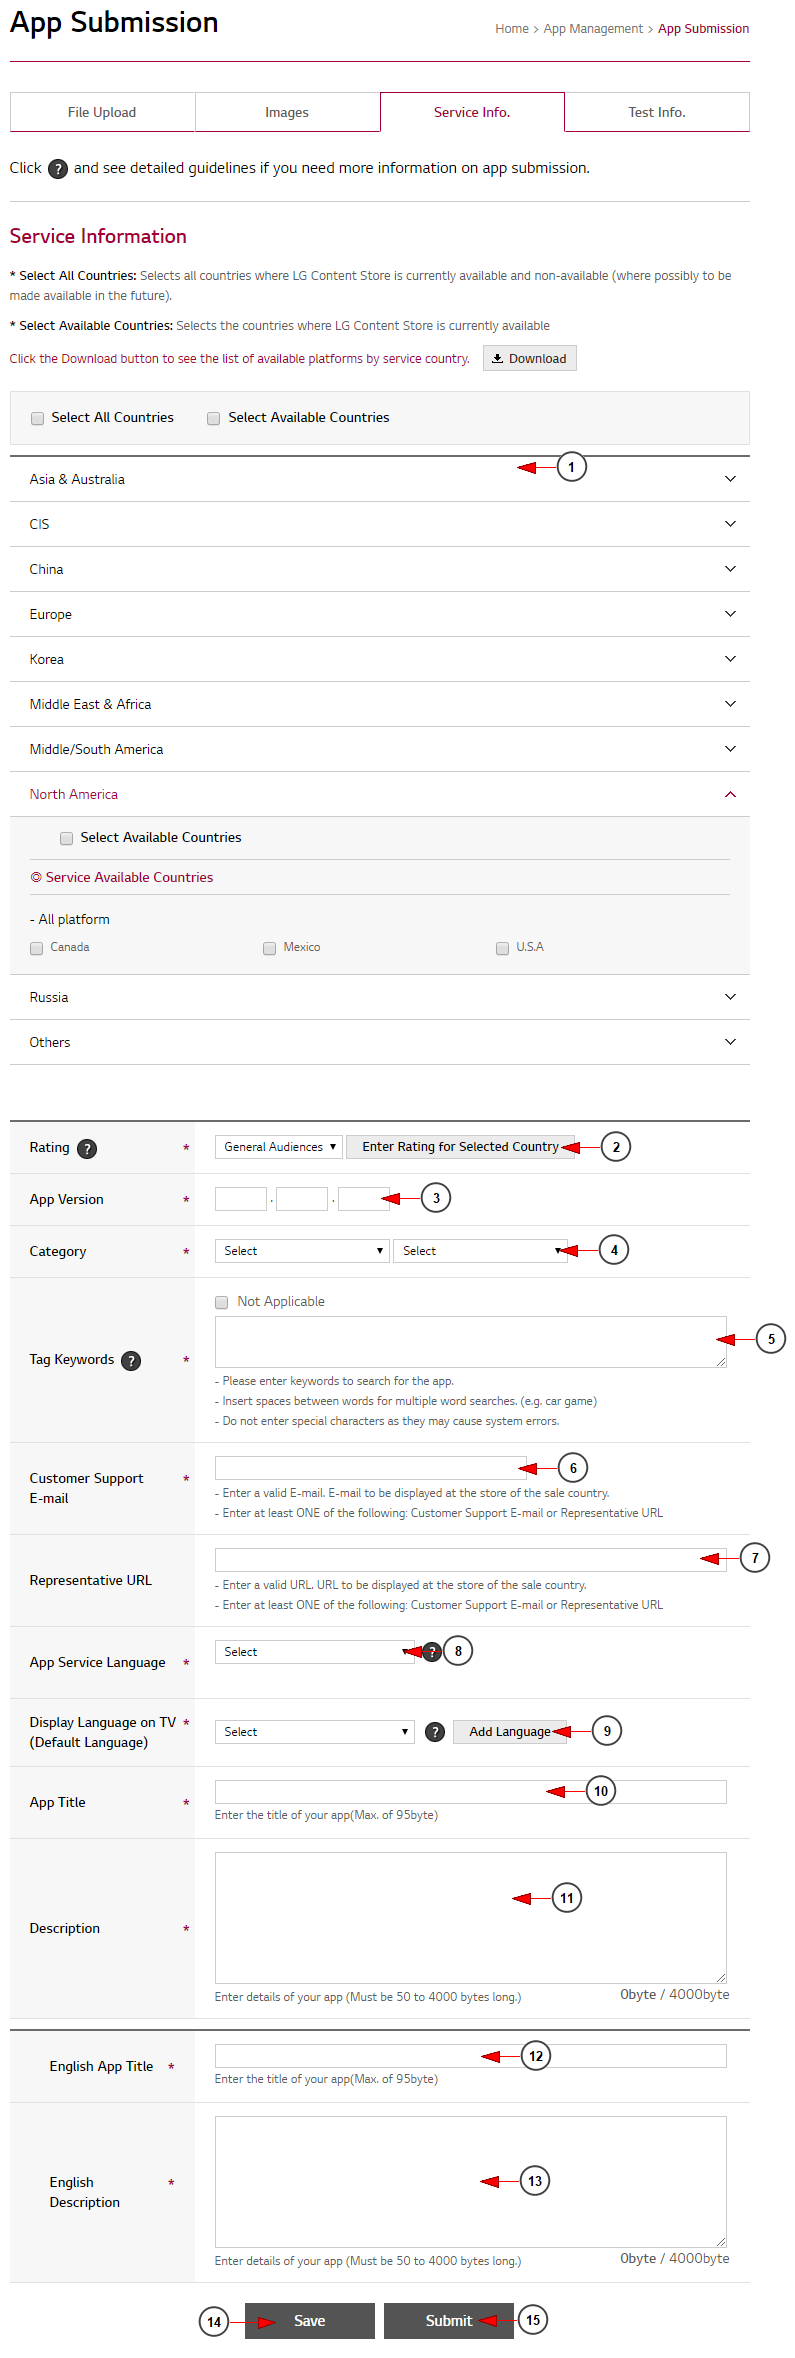
- Select the countries where the application will be available
- Click here to select the rating for the application
- Here you will view the version of the application – this will be automatically filled in from the application file that you uploaded, but you can modify it if you want
- Select the category of the application
- Enter here the keywords that you want to use for the application – these will be used once the users will search for specific keywords and the application will return the application
- Enter here the email address that will be used to contact the application customer support
- Enter here the URL of your application platform – this is the URL of the website that TikiLIVE team has installed for your platform
- Select the language of the service application
- Select the default language on which the application will be displayed on the TV
- Enter here the title of the application – this is the title that will be displayed on the TV
- Enter here the description of the application – this is the title that will be displayed on the TV
- Enter here the English title of the application – this is the title that will be displayed on the TV
- Enter here the English description of the application – this is the title that will be displayed on the TV
- Click here to save the application
- Click here to submit the application – note that there is one more step to be filled in “Test Info” before submitting the application
[7] On the next step you will have to add the test info details that are requested when an application is submitted, as explained on the following image:

- Enter here the email address where the QA results will be sent
- Click here to download the Self-check list template file
- Click here to upload the Self-check list template file that you filled in with the details related to your application
- Click here to download the Self-check list template file
- Click here to upload the Self-check list template file that you filled in with the details related to your application
- If you have specific notes for the tester check the corresponding box – for the TikiLIVE application is recommended to check the Not Applicable
- If you have specific notes for the tester enter them here
- Click here to upload the image or document that you want to send to LG testers
- On device requirements the recommended setting for submitting TikiLIVE application is None
- Select the remote control type that can be used with the application – for TikiLIVE application the remote controller should be Both Magic and general remote
- Select if your application is geographically restricted
- Enter here the username and password for the test account that you will sent to LG QA team – you can click on + sign and add up to 5 accounts
- Check this box if you don’t want to provide a voucher code for the LG QA team – this is not mandatory to be provided as they will not register on the application since you will provide them the login account
- If you have paid channels published on the LG application then you will have to select the Enabled option for the In-App Purchase
- The In-App Ad should be set to Disabled as there are no ads provided on the LG application
- For the player specification the Not Applicable option should be selected
- Click here to save the test details
- Click here to submit the application for LG review
Once you have submitted the application, the LG team will review it and test it. The process may take few weeks depending strictly on the LG QA team
Once the application is approved by LG team you will see the status on your LG Seller Lounge – this will be QA Approved and Displayed – as in the following image:

Notes to consider:
- The images should be build based on the requirements that the LG has published on their dashboard
- The test account that you will provide to LG QA team should have access to premium content that is published on the application, otherwise you can specify to them which are the channels and videos to which the user has access so they can test the playback properly