The process for provisioning a custom domain is a 5 step process as follows:
A. Streaming platform to set the domain in his DNS server to point to customer IP addresses
- IP#1 Defined by Streaming platform
- IP#2 defined by Streaming platform
- ns1.customerdomain.com Defined by Streaming platform
- ns2.customerdomain.com Defined by Streaming platform
B. Streaming platform to update MX or email addresses, if requested
C. Customer to setup separate hosts (not inside of the domain zone):
- ns1 -> IP#1 Defined by Streaming platform
- ns2 -> IP#2 Defined by Streaming platform
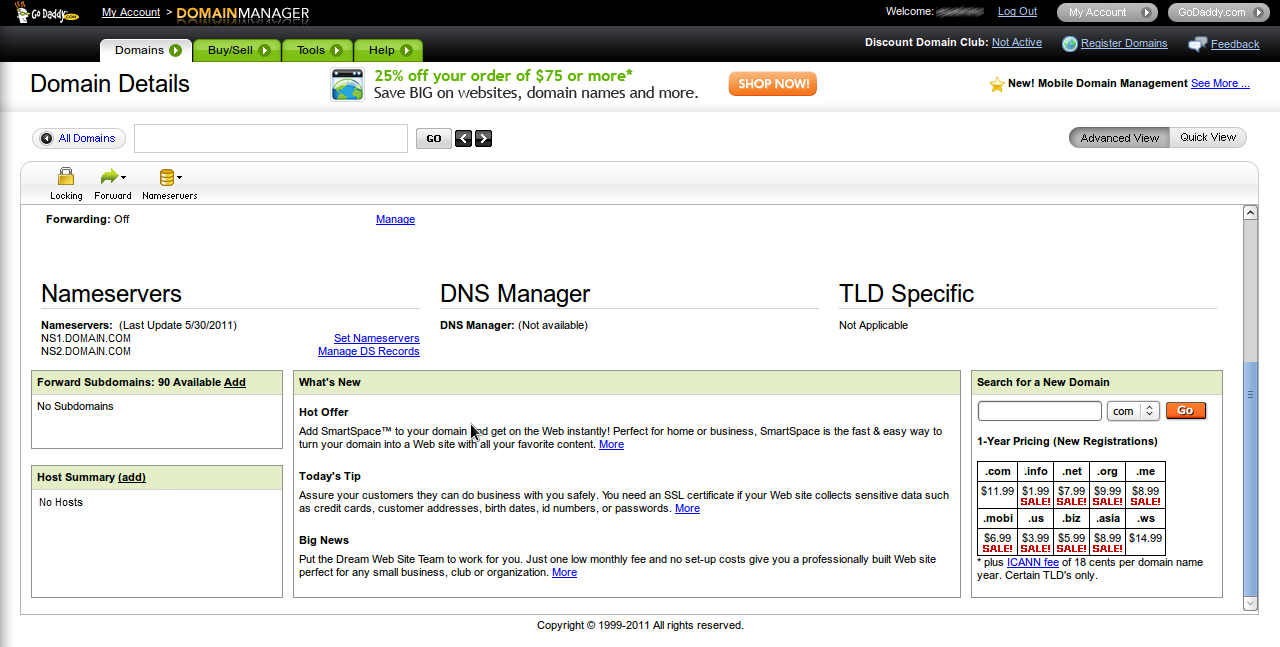
This option can be found at Register in the page where you edit registrar details for that domain, usually like: “Host Summary (add)”
Click on (add) link in order to add a new host:
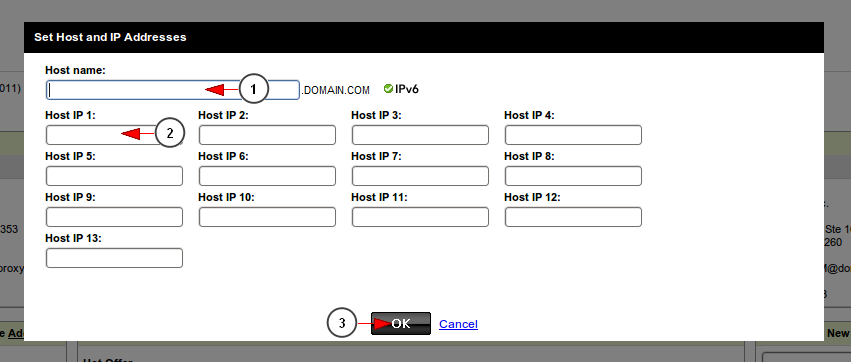
On the window that opens up, make the following entries:
- “ns1″ against the Host Name – so it should read ns1.domainname.com
- First IP Address that Streaming platform provided to you
Repeat this process, and add “ns2″ and the Second IP Address. If the Welcome Email contains a 3rd IP Address, repeat the process again.
1. Add here your host name – ns1
2. Enter here the host IP 1 provided by Streaming platform
3. Click here to save the host details
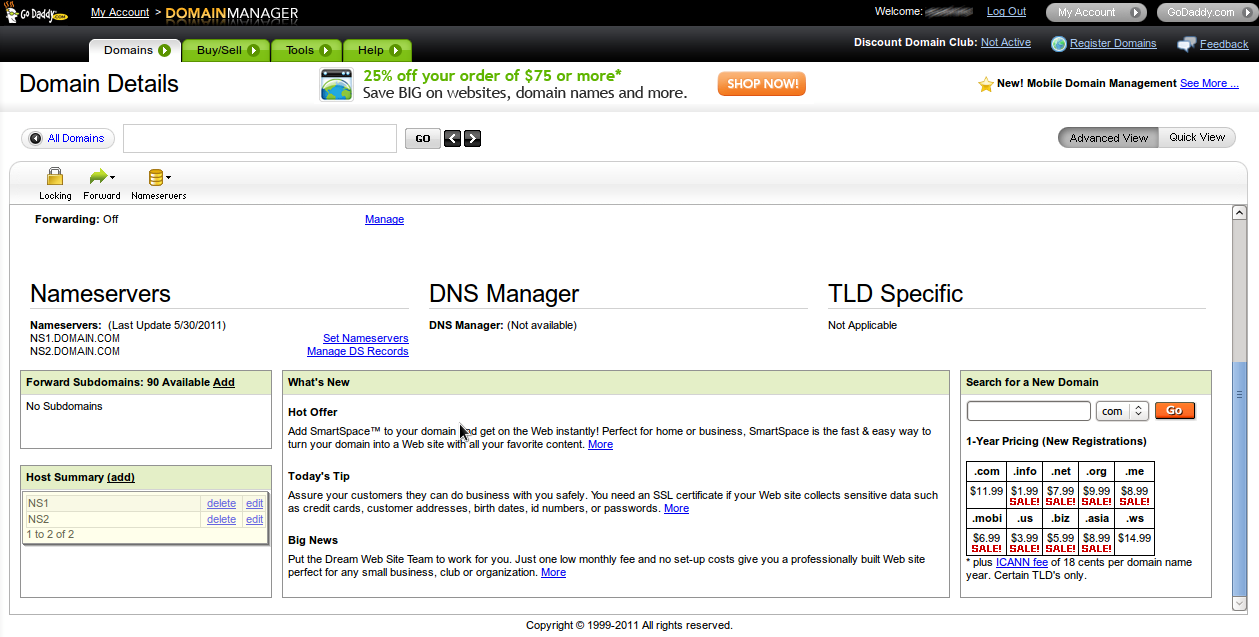
The host details are added:
D. Customer then can setup the customized DNS nameservers, example:
- ns1.customerdomain.com
- ns2.customerdomain.com
E. When step D is complete, this may take Up to 24 hours to completely propagate.


