SSH is a protocol that allows computers to communicate with each other over encrypted connections. An SSH client is used to log in to a remote machine (running an SSH server) and allows the execution of commands on that machine
You can use CPanel or Putty to access SSH and take control of dedicated services
You’ll need a Telnet client which has support for SSH. A lightweight, freeware application that I use is PuTTY
Here you can download PuTTY for windows
After you start the application, ensure the port setting is 22, which is the secure option:
To make it easy to start a ssh session in the future, you can save sessions. To create A session for our SSH server, type the name of the server to which you want to connect in the “Host Name (or IP address)” field. In the “Saved Sessions” field, you can name the session. Click “Save” to save the session
Click “Open” to open the new session:
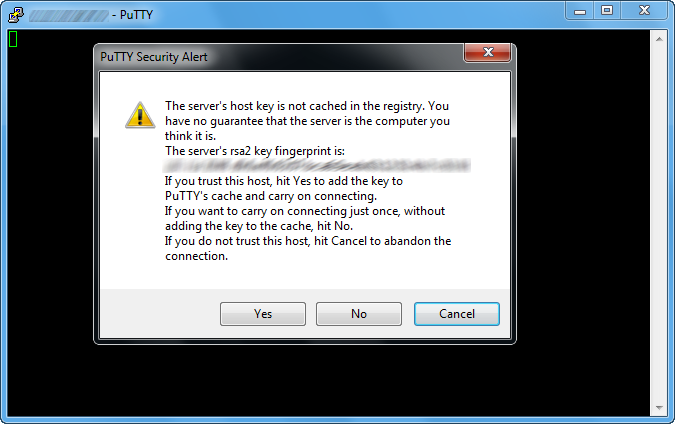
You’ll probably get a security alert stating that the server key is not cached in the registry. If you want to be ultra secure, you can check with your web host that the dss fingerprint Reported by PuTTY is the correct one. Once it’s been confirmed by your host, or if you don’t wish to go to that hassle, just click ‘yes’ and the key will be stored in your cache:
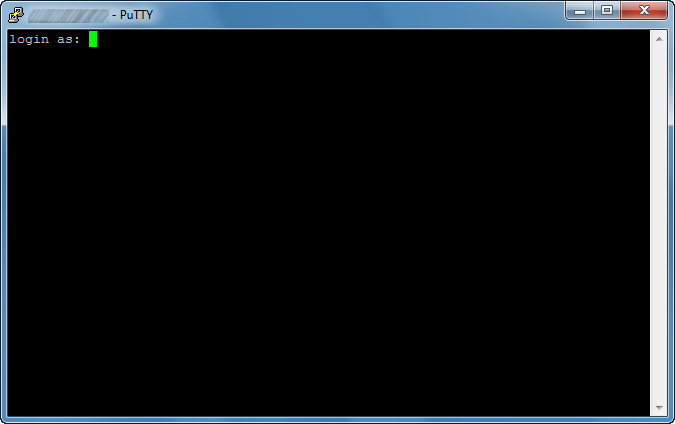
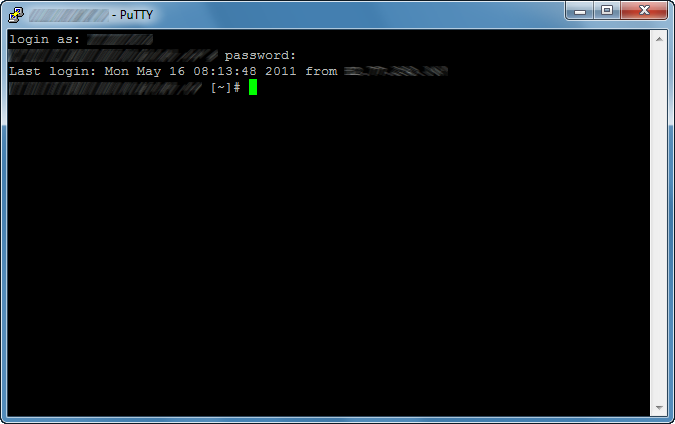
A window should appear and after a few seconds, a prompt stating “login as” will display. Type in the username, usually your account username. A password prompt should then appear after a few seconds. Type in your account password:
You’re now looking at the command line for the server operating system


