Important: the network administrator can enable users to manage their own emails from the sites they aliased to work with his WordPress module. These email services are NOT supported by Streaming platform and are 100% managed by the network administrator and the other users.
Note: we recommend you to read the following manual page describing the domain setup on Google Apps for email hosting
Before you can actually take a new domain into use on a multi-site you need to do some configuration up front. When you purchase a new domain, you will need to update its DNS settings to actually point to your domain server IP or CNAME. On some hosting plans this is easy and there are good instructions on how to set it up. On others you may need to ask support to get assistance.
DNS Guide For Cpanel users
If your domain uses the name servers on your hosting account you should follow these instructions. If the nameservers are elsewhere change the A record or CNAME as documented above. Add a wildcard subdomain/virtual host record to your site’s DNS record in Web Host Manager (WHM). If you do not have access to WHM, you must email your web host and ask them to make this one change for you. Should be no problem:
1. Go to “Edit DNS Zone” and select the domain of your WPMU installation and click “Edit”.
2. Below “Add New Entries Below This Line”, enter in the first box (Domain) an asterisk: “*”
3. The second box, TTL, should be “14400”
4. The third box should be “IN”
5. Select A Record Type from the drop down “A”
6. And in the last box, paste in the IP address of your webserver – e.g. 123.123.123.123
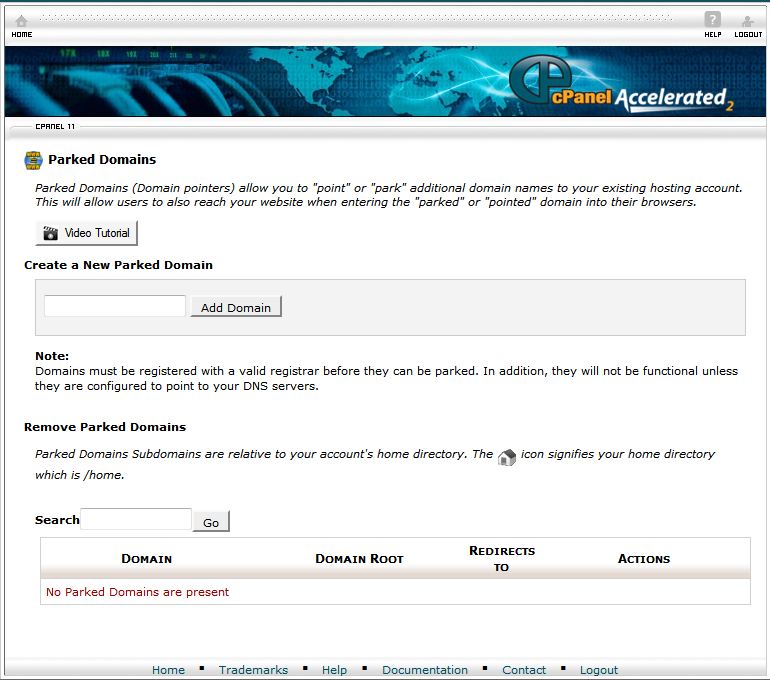
From cPanel, click on the “Parked Domains” under the “Domains” section
1. Under “Create a New Parked Domain” enter the domain name you want to add to your network
2. Click the “Add Domain” button
3. It should add the domain to the list of parked domains and under “Redirect to” it will say “not redirected”. That is OK

